
Kitchen Splashback Installation across Thurrock, Essex, London & Kent
Tiled, glass, stainless steel and acrylic splashbacks fitted correctly — wall prepared, sockets cut around neatly, edges sealed. Quote from photos and measurements.
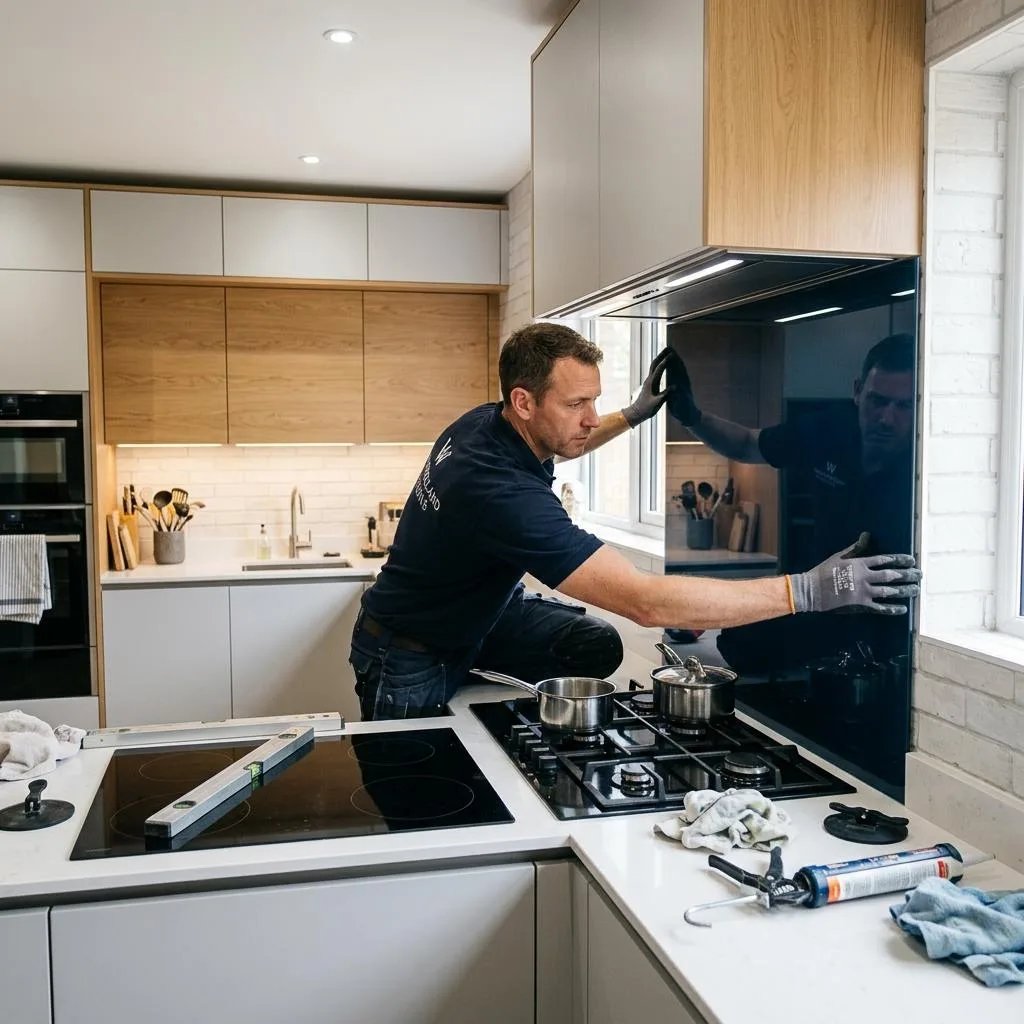
- Agreed scope and records
- Family-run business
- Transparent pricing
- Before & after photos
- Digital job records
- Cleaning & maintenance under one roof
What Are You Fitting?
Multrex Installs All Common Splashback Types
Select your material for specific information, or choose 'Not sure yet' — we can advise once we see your kitchen.
Not sure what material you have? Upload a photo — we'll identify it and advise.
Transparent Pricing
What Affects the Cost of Splashback Installation
Labour from £150. There is no single fixed price — the scope depends on several factors we ask about in the quote.
Material type
Tiled work requires cutting, layout and grouting. Panel installation differs by adhesive system and product. Different skills and time — different labour cost.
Dimensions
A small hob-only panel is a different job from a full worktop-to-wall-unit run or a feature wall. Area and linear length both matter.
Socket and switch cut-outs
Each cut-out requires accurate measurement and precise cutting. One socket is quick. Three sockets plus a cooker switch takes longer and adds skill.
Existing covering
Removing old tiles, a glass panel or stainless steel is additional work — and removing tiles especially can reveal wall damage underneath.
Wall condition
A flat painted wall is straightforward. Damaged plaster, old adhesive or uneven substrate from removed tiles may need filling and priming before installation.
Customer-supplied vs Multrex-supplied
We fit customer-supplied materials. Where Multrex supplies, materials are quoted separately from labour. Send product links or measurements for an accurate figure.
Small job does not mean simple job. Even a modest splashback involves measuring accurately, marking out, cutting, wall preparation, adhesive or fixing, curing or grouting, sealing and clean-up. The quote reflects the skilled labour, not just the material area.
Send photos and measurements — we quote most projects without a visit
What's Included
- ✓Wall scanned for concealed pipes and cables before drilling
- ✓Wall prepared and levelled for the new splashbackMinor filling included where quoted
- ✓Removal of existing panel, glass, stainless or tilesWhere included in agreed scope
- ✓Tiled, glass, steel or acrylic panel fitted flush and level
- ✓Socket and switch cut-outs measured and finished neatly
- ✓Grouting or sealing as applicable to the material
- ✓All edges sealed at worktop and wall junction
- ✓Work area cleaned and left tidy
What's Not Included
- ✕Moving or rewiring sockets or electrical wiringWe cut the splashback around existing accessories. Repositioning sockets requires a qualified electrician.
- ✕Plumbing alteration to taps or pipeworkInstallation around taps and sinks does not include plumbing work — see Taps, Sinks & Toilets.
- ✕Significant replasteringMinor filling is included; substantial plaster repair is separately scoped.
- ✕Supply of glass, tile or panel materialsQuoted separately from labour when Multrex supplies. Customer-supplied materials are fine.
- ✕Bespoke glass manufacture or cutting of toughened glass on siteGlass panels must be dimensioned before manufacture. We fit — we don't manufacture.
- ✕Worktop replacement or structural kitchen workQuoted separately if required.
Before Installation
Preparing the Wall for a Splashback
The finished result depends heavily on the wall underneath. A splashback installed onto a sound, flat surface looks clean and stays put. One installed over damaged plaster or old adhesive residue can sit proud, crack sealant lines, or lift at the edges.
- →Loose or hollow plaster identified before fixings are made
- →Old adhesive residue or grout cleaned back where required
- →Minor holes and imperfections filled and allowed to dry
- →Surface sanded flat where needed
- →Wall primed where the product or adhesive system requires it
- →Measurements taken from the prepared surface — not the rough wall
Wall Condition
What We Often Find
Material Guidance
Installation Differs by Splashback Material
Each product type has specific requirements for preparation, fixing, cut-outs and finishing.
Tiled Splashbacks
Ceramic, porcelain, natural stone
- ✓Wall prepared and primed as required
- ✓Layout planned to avoid small cut-off tiles at visible edges
- ✓Tiles cut and fitted with consistent spacers and grout joints
- ✓Socket and switch cut-outs made with appropriate tools
- ✓Grouted with your chosen grout colour, then cleaned off
- ✓Silicone seal applied at worktop and internal corner junctions
- ✓Natural stone may require sealing — product-specific advice at quote
Glass Splashbacks
Pre-manufactured toughened glass panels
- ✓Glass panels must be manufactured to the correct dimensions before fitting
- ✓Cut-outs for sockets must be specified before manufacture — not improvised on site
- ✓Dimensions measured precisely from the prepared wall
- ✓Panel fixed using appropriate adhesive and/or mechanical fixing system
- ✓Edges sealed neatly to worktop and wall
Important: We do not cut toughened glass on site. If your panel has been manufactured without cut-outs, it will need to go back to the supplier. Always confirm socket positions before ordering.
Stainless Steel Splashbacks
Brushed or mirror-finish panels
- ✓Panel measured and cut where required for sockets or irregular walls
- ✓Wall surface cleaned and prepared for adhesion
- ✓Panel fixed with appropriate adhesive (e.g. CT1 or equivalent)
- ✓Edges sealed or trimmed to finish
- ✓Mirror finish requires care during installation to avoid surface marking
- ✓Fire or heat ratings are product-specific — check manufacturer documentation
Acrylic & Composite Panels
Lightweight panel products
- ✓Panel measured, marked and cut to size on site
- ✓Cut-outs for sockets cut cleanly from the panel
- ✓Fixed to wall using appropriate adhesive for the product
- ✓Edges sealed to worktop and walls
- ✓Product suitability behind different hob types varies — check manufacturer guidance
Behind a hob: Not all acrylic products are rated for every hob type. Gas hobs in particular generate significant heat. Always check your product's heat tolerance before installation behind a gas or solid-plate hob.
Tiles vs Large Panel — Which Is Right for Your Kitchen?
Tiled Splashback
- —Huge style choice — size, colour, texture, pattern
- —Suits traditional, country, metro and contemporary kitchens
- —Grout lines require occasional cleaning
- —More individual cuts around sockets and shapes
- —Tiles can be replaced individually if damaged
- —Generally more installation labour than a single panel
Glass, Steel or Acrylic Panel
- —Fewer joints — easier to clean behind a hob
- —Clean, modern appearance
- —Glass requires accurate pre-manufactured dimensions
- —Acrylic can often be cut to size on site
- —No grout lines to discolour over time
- —Replace the whole panel if damaged — no tile matching needed
Not sure which suits your kitchen? Send a photo — we can advise on what works for the space and hob type.
Not every splashback material is suitable behind every hob type. Gas hobs, induction and solid-plate hobs all have different heat characteristics. Material suitability must be checked against your specific product and manufacturer guidance before installation — we advise on this at quote stage.
We cut splashbacks neatly around existing socket and switch faceplates. This is not electrical work. If sockets need repositioning, adding, or if wiring needs altering, that requires a qualified electrician — we can route this to the appropriate service.
Fitting a splashback around a sink, tap or pipework does not include plumbing alteration. If the installation exposes a plumbing issue, or if taps or pipes need repositioning, that is a separate scope — see our Taps & Sinks service.
Remove → Repair → Install
Replacing an Existing Splashback
If there is already a splashback in place, removal is included where agreed in the quote. Removal sometimes reveals more than expected — old adhesive residue, minor plaster damage, or holes from the original fixing. Where this happens, we assess on site and advise before the new installation proceeds.
Multi-Trade Advantage
If the Wall Needs More Work
Removing old tiles sometimes reveals damage that genuinely requires more than filling. Rather than losing the job or leaving the wall half-done, Multrex can coordinate the broader scope:
Each element is quoted separately — no arbitrary bundles. You choose what to proceed with.
Project Evidence
Genuine Multrex Installations
Real jobs — no stock photography.
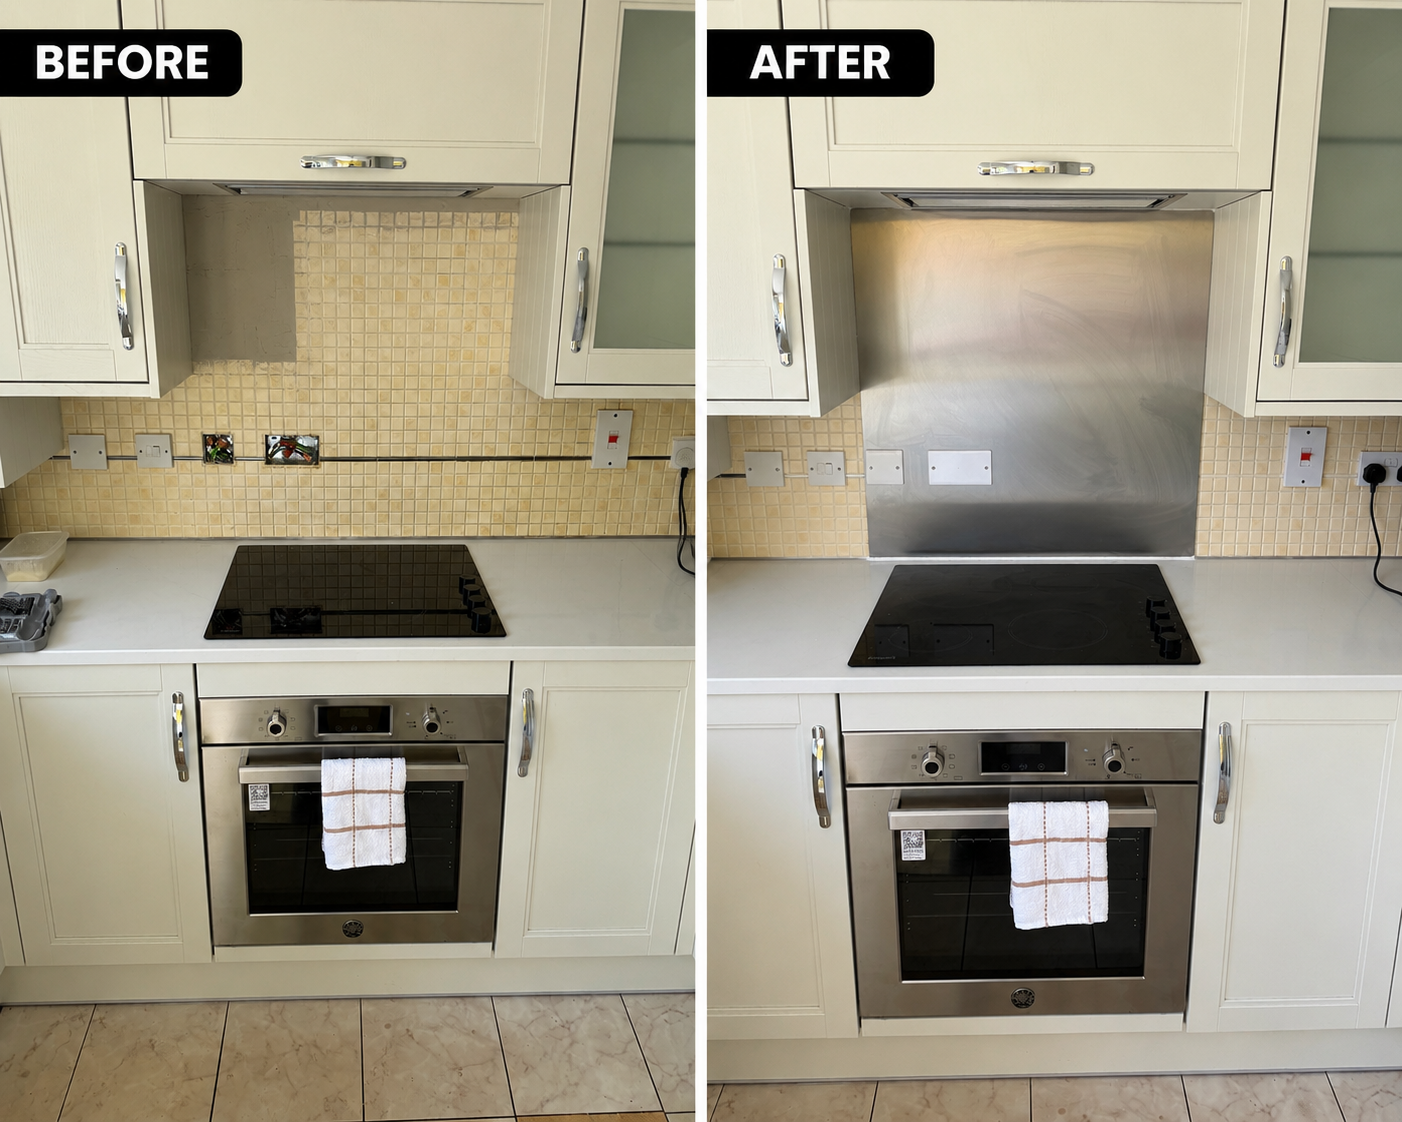
Photography being added as jobs complete
Photography being added as jobs complete
Kitchen Finishing
Finishing More Than the Splashback?
Splashback enquiries often arrive while a customer is actively improving their kitchen — a new worktop just fitted, or a kitchen refresh underway. Multrex can quote the wider finishing list on one visit rather than multiple trade bookings.
Landlords & Agents
Rental Turnaround & Void Work
Kitchen splashback replacement is common during rental voids, property refreshes and pre-tenancy preparation. Where a landlord or agent is already managing broader work, Multrex can coordinate additional trades on the same visit.
Work often combined with splashback replacement in a void:
- ✓Kitchen painting or decorating
- ✓Tap replacement or minor plumbing
- ✓Cabinet repairs or handle replacement
- ✓End of Tenancy Cleaning
- ✓Flooring
- ✓General handyman repairs
The Process
Measure → Prepare → Fit → Finish
Seven steps from enquiry to completed installation.
Before Installation Day
How to Prepare for Your Splashback Installation
Note: Do not disconnect or cap electrical accessories yourself in preparation. Any work to socket or switch wiring must be carried out by a qualified electrician — not as DIY preparation for a splashback fit.
Why Multrex
Splashbacks Fitted Properly — The First Time
Measured carefully, cut cleanly, sealed at every edge.
Cut-Outs Done Right
Sockets, switches, cooker controls — we measure and cut around every obstacle so the panel or tiles sit flush with no gaps or misaligned edges.
Preparation Before Installation
We assess the wall before we start. A sound, flat substrate is the difference between a splashback that stays looking good for years and one that lifts or cracks at the sealant line.
Sealed at Every Edge
The worktop join and wall edges are where water gets behind. We seal them correctly so the splashback protects the wall and stays put long-term.
Quote from Photos
Most straightforward installations are quoted from photos and measurements — no unnecessary visit. Send us the kitchen details and we'll respond with a price.
Customer-Supplied Materials Welcome
Already bought your splashback or tiles? We fit customer-supplied products. If it's not yet purchased, we can advise on suitability for your wall and hob.
One Visit, Wider Kitchen Scope
If there are other kitchen tasks alongside the splashback — wall repairs, shelving, painting, taps — we can quote them together and complete everything in one visit.
Common Questions
Kitchen Splashback FAQs
How much does it cost to fit a kitchen splashback?▾
Do you fit customer-supplied splashbacks or tiles?▾
What splashback materials do you install?▾
Can you fit a splashback behind a hob?▾
Can you cut around sockets and switches?▾
Can you move or reposition sockets as part of the job?▾
Can you fit over existing tiles?▾
Can you remove the existing splashback first?▾
Does the wall need to be perfectly flat?▾
Can you repair the wall first?▾
Do you supply adhesive and sealant?▾
Do I need to buy the splashback before getting a quote?▾
Can you measure for a bespoke glass panel?▾
How long does installation take?▾
Can I fit a full wall splashback?▾
What photos are useful for a quote?▾
Can Multrex complete other kitchen jobs at the same time?▾
Do I need an electrician before you can fit the splashback?▾
Areas We Cover
Kitchen splashback installation across Thurrock, Havering and surrounding areas.
Get a Quote
Splashback Installation Quote
Tell us about your project — the more detail, the more accurate the quote. Photos are the single most useful thing you can provide.
What are you fitting?
Step 1 of 6
Request a Quote
Any Questions Before You Quote?
Call us on 01375 767676 or send a WhatsApp message with a photo of your kitchen.
What do you need?
Choose a service and we'll give you a tailored quote form.
Cleaning
Maintenance & Property
Commercial & Industrial
We aim to respond the same working day.